
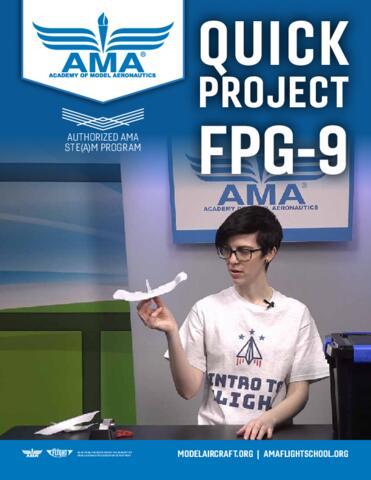
Aircraft need lift and thrust to fly, but how do you get the energy needed to overcome the weight of gravity and drag? With just a few simple parts you may already have at home, you can create a glider that not only flies great but may just help you answer some science questions as well!
SUPPLIES NEEDED:
- Foam Plate (Be creative! Try a paper plate or cardstock paper instead!)
- Penny
- Tape
- Scissors
- Marker
STANDARDS:
- 3-5-ETS1-1 - Define a simple design problem reflecting a need or want that includes specified criteria for success and constraints on materials, time, or cost.
- 4-PS3-4 - Apply scientific ideas to design, test, and refine a device that converts energy from one form to another.
ACTIVITY:
1. Using the template (downloadable via the PDF), direct students in tracing the pattern onto the foam plate.
2. Have the students cut out the FPG-9 pieces from the plate. Note the notches indicated on the wings of the main piece (body) and the smaller piece (vertical stabilizer). Make sure students snip these.
3. Instruct the students to write their names on the larger of the two pieces using the permanent marker.
4. Hand out the pennies. Instruct the students to place the penny on the nose at the front of the body and fold it over, creating a little pocket. Use the tape to secure the penny.
5. Instruct the students to slide the vertical stabilizer (smaller piece) into the main piece via the two largest notches.
6. Using the tape to create an “L” shape, secure the vertical stabilizer to the body of the aircraft.
7. To fly the FPG-9, pinch the vertical stabilizer underneath the aircraft and gently toss it forward from shoulder height.
CHALLENGES:
Furthest flight? Longest duration flight? Number of times in a minute to fly through a hoop? Get creative and challenge your learners to achieve exciting goals with their FPG-9 gliders!